Why most AI photos still look fake — and what 200+ prompts taught me about fixing it.
Why most AI photos still look fake — and what 200+ prompts taught me about fixing it.
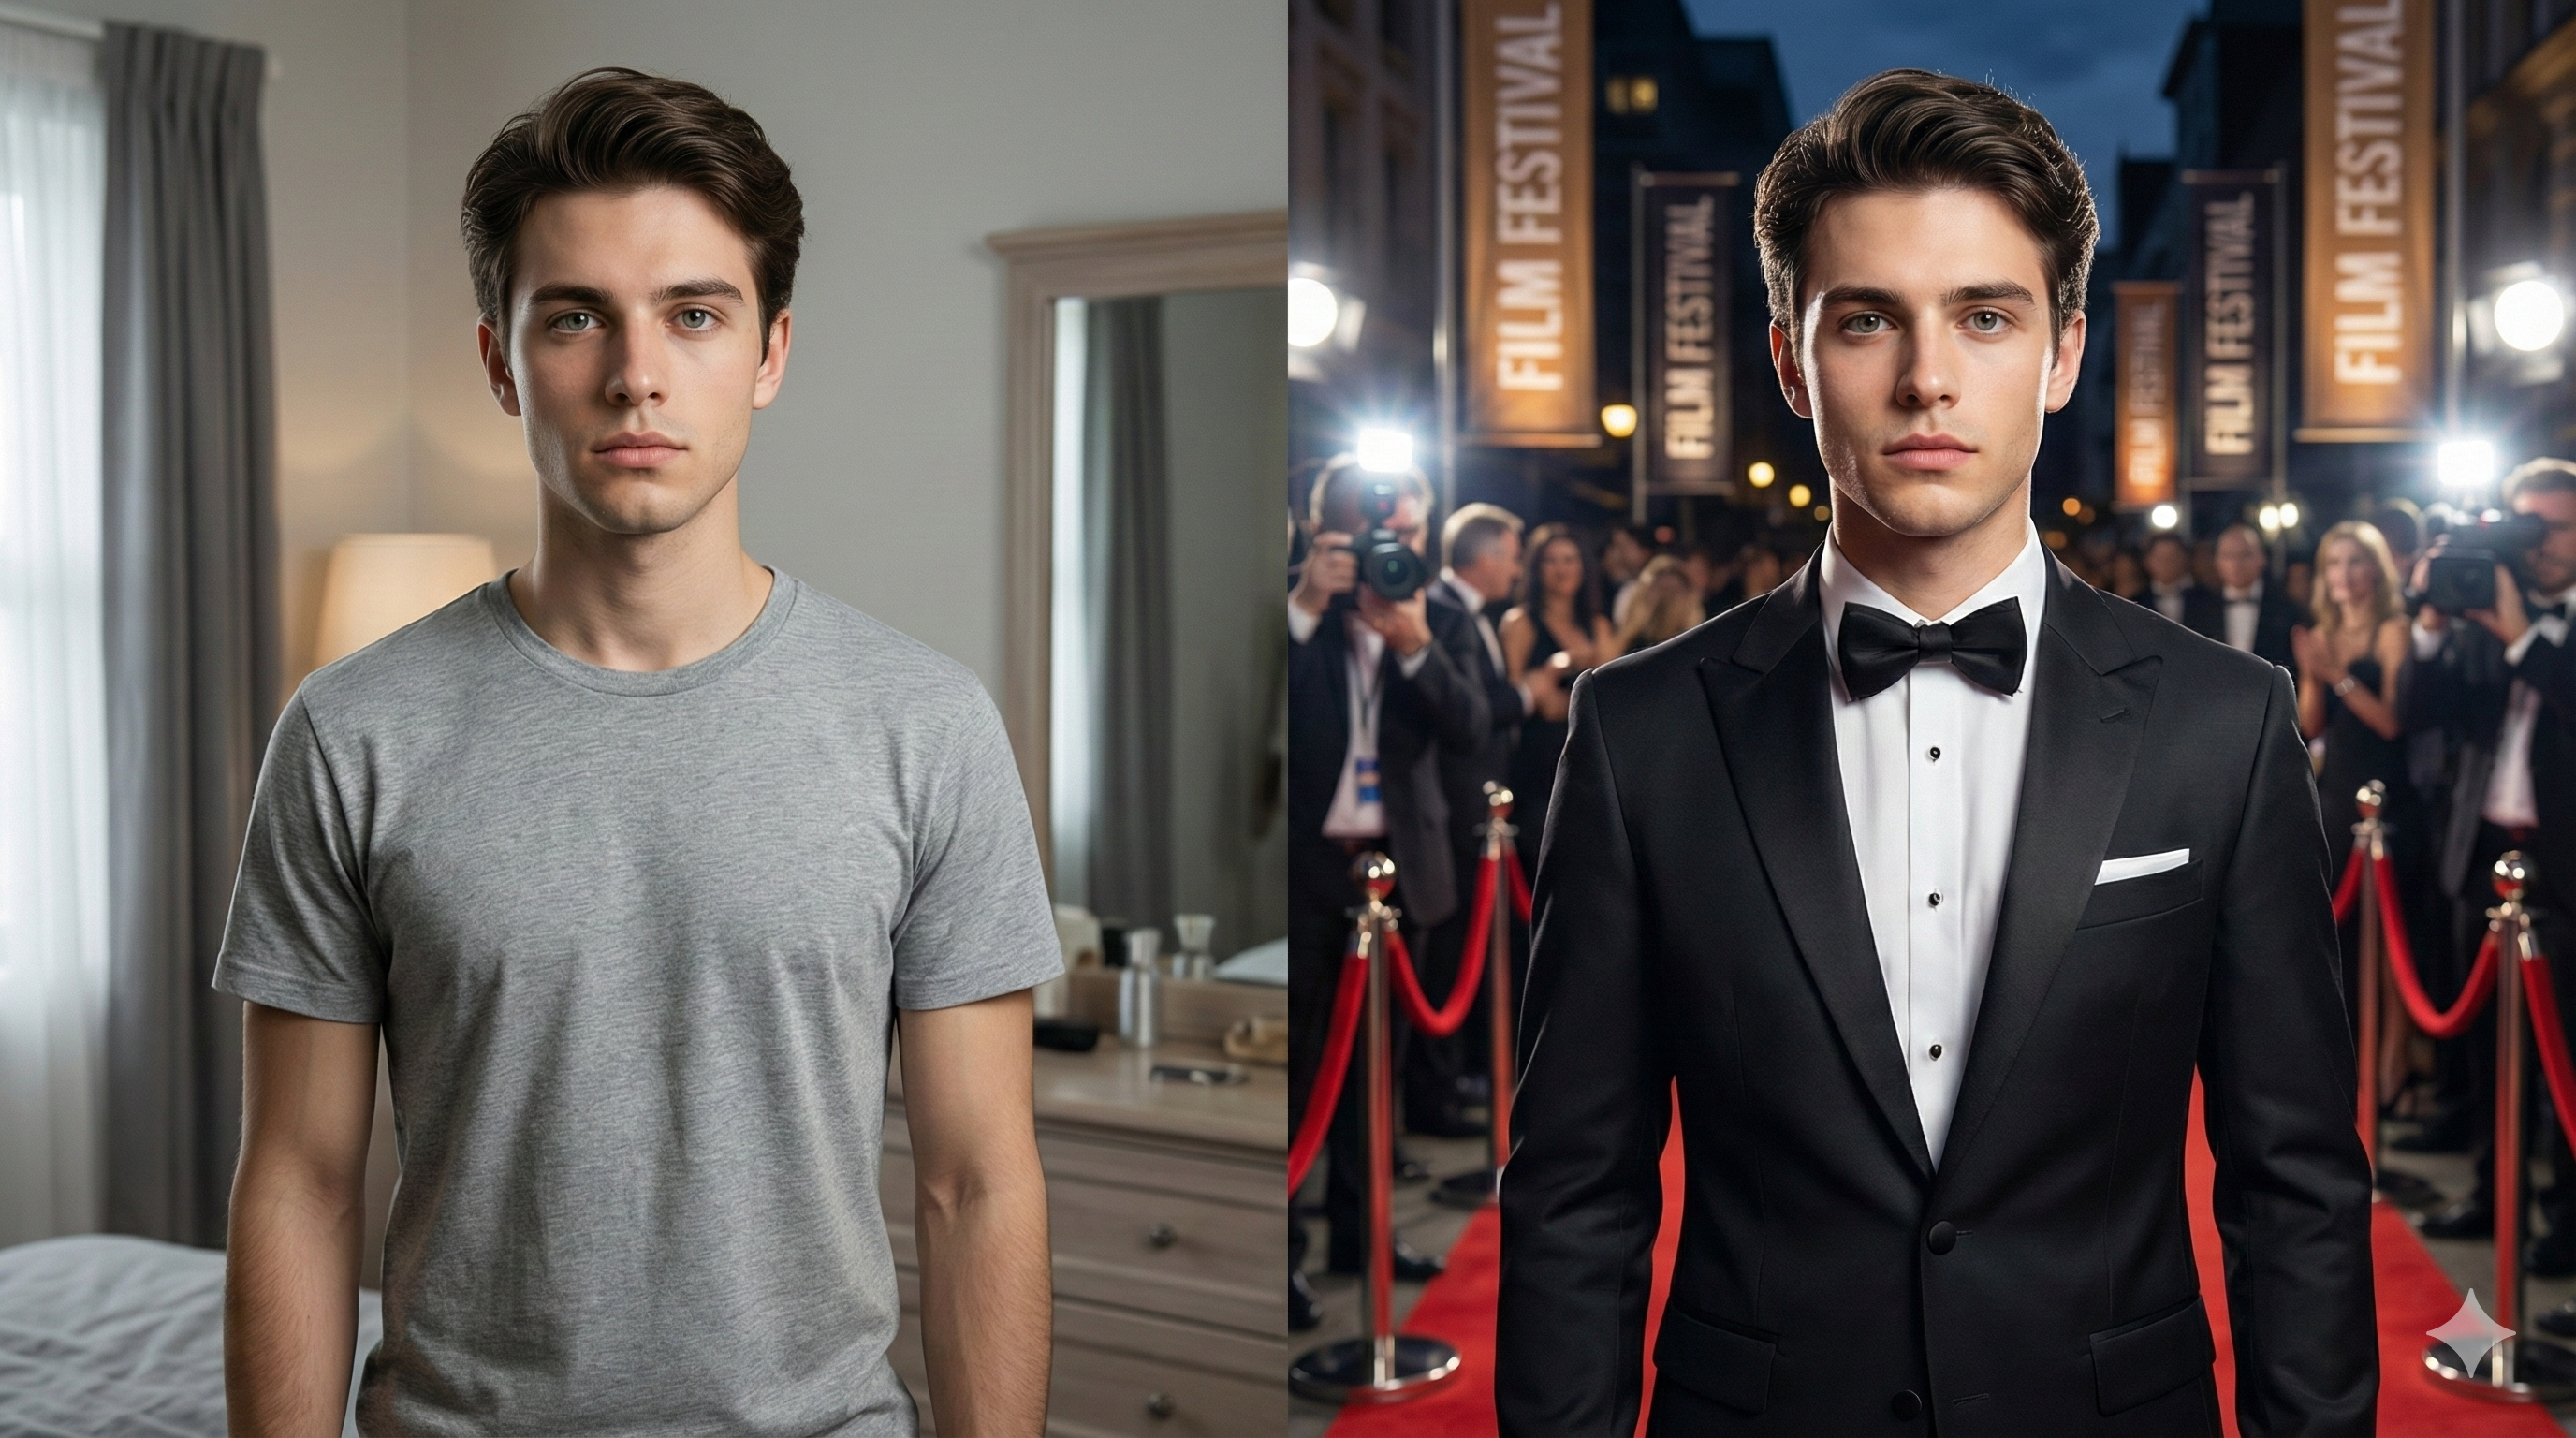
The model isn't your bottleneck. The instructions are. Here's the difference between an image the AI guessed at, and one you actually directed.
drag to compare — same subject, different instructions
There's a specific moment every AI photography creator remembers.
You generate an image. For half a second, it looks incredible. Then your eyes catch something — the skin is too smooth, the shadows don't agree with each other, the eyes are looking at nothing in particular — and the spell breaks.
I've had that moment hundreds of times. Somewhere around the two-hundredth time, I stopped blaming the model and started studying the prompt.
That decision changed everything about how I create AI imagery, and it's the reason I eventually built a structured AI prompt library instead of starting from a blank page every single time. This is everything I wish someone had told me before I wasted months guessing.
Why almost every AI image still looks "off"
Here's something most people get backwards: the newest AI models are not the reason images look fake. The image generators we use today — ChatGPT's image tool, Gemini, Nano Banana — are technically capable of photorealism that would have been unthinkable two years ago.
The model isn't the bottleneck. The instructions are.
When you type "a man standing by a wall," the AI has to invent everything else. Which wall? What light? What time of day? What lens? It fills those gaps with statistically average choices — and average is exactly what makes an image feel synthetic. Flat lighting. Centered composition. Skin with no texture. A face with no story.
Realism isn't something a model adds to your image. It's something a vague prompt removes.
This is why two people using the exact same AI tool can get wildly different results. One gets a glossy, plastic-looking render. The other gets something that could pass for a frame pulled from a film. Same engine. Completely different inputs.
Actionable insight: before blaming "the AI," look at what you actually told it. If your prompt didn't specify light, lens, and mood, the model had no choice but to guess — and the guess is almost always the generic one.
Why prompts matter more than people think
Most beginners treat a prompt like a search query. Type a few words, hope for the best, regenerate if it's wrong.
But a prompt isn't a search query. It's closer to a shot brief you'd hand to a photographer on set. A real photographer would never start shooting with "take a picture of a guy." They'd want to know the lighting setup, the lens, the mood, the wardrobe, the story being told in that frame.
AI image generation works the same way, except the camera crew is the model and your words are the only direction it gets.
I learned this comparing two prompts side by side. The first one was something I'd typed in thirty seconds: "A young woman standing by a wall, looking at the camera." The result was fine. Forgettable. The kind of image that could have come from any AI tool, on any day, for any reason.
The second prompt, pulled from the realistic photography section of my prompt library, described a young woman leaning against a beige plaster wall, golden light cutting through a window beside her, a stray branch of orange leaves drifting across the frame, her hair slightly tousled by wind, dressed in an oversized terracotta shirt with rolled sleeves. Same general idea. Completely different result — because the second version gave the model a world to render, not just a subject.
That's the gap between a casual prompt and a professionally engineered one. It's not about fancier words. It's about removing every ambiguity the model would otherwise have to guess at.
Actionable insight: every time your result feels generic, ask what decision you left up to the AI. Lighting, wardrobe, camera distance, mood — if you didn't decide it, the model decided it for you, and it chose "average."
The psychology behind realistic AI photography
This part surprised me. Photorealism isn't really a technical problem — it's a perceptual one.
Our brains aren't evaluating pixels. They're evaluating plausibility. A photo feels real when every detail in it agrees with every other detail. The moment one element breaks that agreement, our brain flags the whole image as fake, even if we can't immediately say why.
- Lighting that doesn't match the scene. Soft studio light on a subject who's supposedly standing in harsh midday sun reads as artificial instantly, even to people who've never touched a camera.
- Perfection where imperfection should exist. Real skin has texture. Real hair has stray strands. Real fabric has wrinkles. A flawless surface is one of the fastest tells that something was generated rather than captured.
- A subject with no implied story. A person just standing there, facing the camera with a neutral expression, feels staged. A person mid-thought, mid-action, or caught off guard feels witnessed.
This is exactly why "candid" framing outperforms posed framing in believable AI photography. A subject glancing sideways, mid-laugh, or absorbed in something else borrows credibility from real photojournalism, where the best shots are rarely the ones where someone stares straight into the lens.
People don't trust perfect photos. They trust photos that feel like they happened.
Actionable insight: before adding more polish to a prompt, ask whether you've added enough imperfection — a stray hair, an off-center pose, a half-formed expression. Believability often comes from what you leave a little messy, not what you clean up.
Prompt engineering, explained like a photographer (not a coder)
The phrase "prompt engineering" scares people off because it sounds like a programming skill. It isn't. It's closer to art direction.
Think of every prompt as having four jobs to do:
- Who is in the frame — not just "a man," but specific physical and styling details that make the subject feel like an actual person rather than a placeholder.
- Where they are — an environment with texture, history, and light sources that make sense together.
- How the camera sees them — lens choice, distance, angle, depth of field.
- What mood the frame is carrying — color grading, time of day, emotional tone.
Skip any one of those four, and the model fills the gap with something generic. Nail all four, and you get something that looks intentional — the kind of image a creative director would actually approve, not just generate and discard.
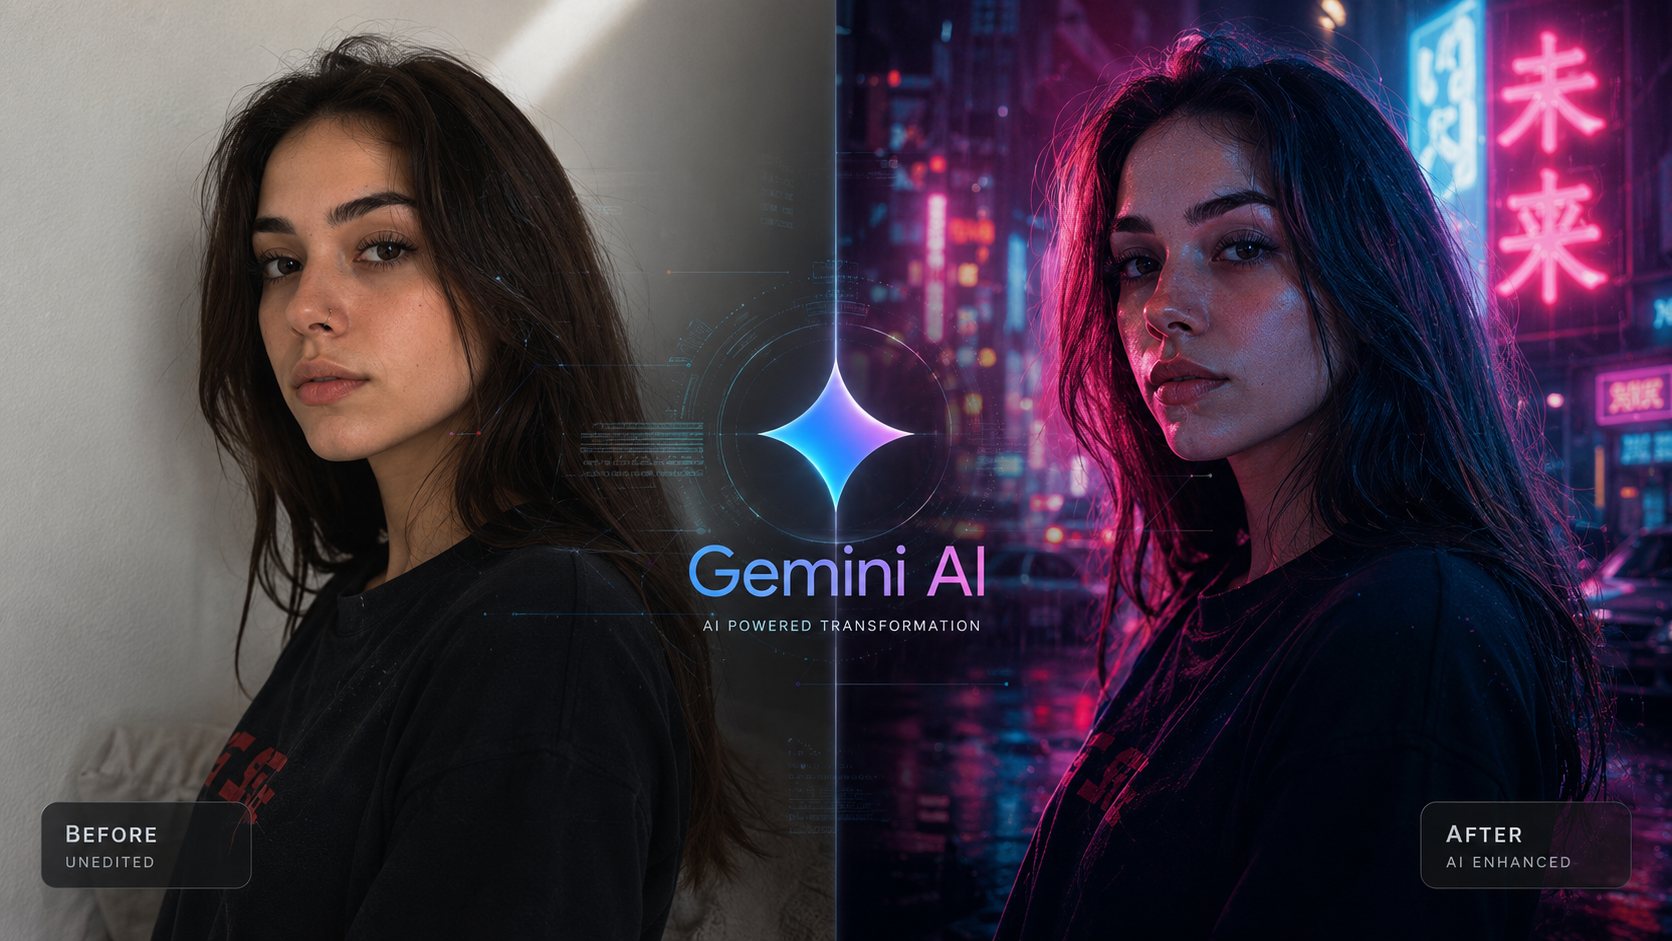
This is also where most people misunderstand AI image editing prompts. Editing an existing photo with AI isn't about typing "make this look better." It's about giving the same four-part direction to a transformation instead of a generation — specifying exactly what changes (lighting, color grade, background) while telling the model what must stay untouched (the face, the pose, the identity).
Actionable insight: before writing a prompt, mentally answer all four questions — subject, environment, camera, mood — in that order. Whichever one you can't answer is the part of your image that's about to look generic.
The five pillars of cinematic AI portraits
Once I started breaking prompts down this way, five recurring elements kept showing up in every image that actually looked cinematic. I think of these as non-negotiable now.
Camera angle
Eye-level and front-on is the model's default. A slight elevation, a low angle, or a three-quarter profile adds dimension a flat shot never will.
Lens choice
The most underused lever. Naming an 85mm or a wide angle tells the model exactly how background blur and distortion should behave.
Lighting
Golden hour reads as nostalgic. Harsh overhead light reads as gritty. Naming your light source does more than any extra detail about the face.
Composition
A static, centered subject feels like a passport photo. A subject caught mid-action, or shown across a sequence, feels like a story.
Color grading
The final 10% that separates "AI-generated" from "shot on a real camera." Intentional grading pushes an image away from the flat default.
One pillar runs underneath all five: if you're working from a real reference photo rather than generating a stranger, none of the above matters if the face drifts into someone else's. Prompts that explicitly instruct the model to preserve the original face "without over-editing" hold likeness far better than prompts that describe a face from scratch and hope the AI matches your photo to it.
A photo without intentional color grading is a photo that hasn't finished being directed.
Actionable insight: run your next prompt through all five — angle, lens, light, frame, grade. Whichever one is missing is usually the exact thing making your result feel unfinished.
Generic vs. professional: the same idea, two outcomes
It's worth seeing this contrast laid out plainly, because the difference rarely comes from extra length — it comes from extra decisions.
Notice what changed. Not the core idea — that was almost identical. What changed was specificity: the precise light source, its direction, its hardness, and a defined background treatment. That's the entire difference between an image that looks like a stock-photo placeholder and one that looks like it was lit by someone who knew what they were doing.
Actionable insight: try the "rewrite test" — take your generic prompt and rewrite it by naming the exact light source, its direction, and its hardness. That single addition usually does more than any other single edit you could make.
Common mistakes that quietly kill realism
After looking at thousands of generated images — mine and other people's — the same handful of mistakes show up over and over. Tap each one to see the fix.
Describing emotions instead of physical cues
Forgetting the background has a job to do
Stacking adjectives instead of decisions
Ignoring how light should fall for the time of day
Treating every subject as if they're posing
Actionable insight: go back through your last five prompts and count adjectives versus concrete decisions. If adjectives win, that's your fix.
Building a cinematic portrait, step by step
Here's the actual sequence I use now, every time, regardless of which tool I'm working in. The order matters almost as much as the content.
1 — Decide the story before the styling
What is this person doing, thinking, or feeling in this exact frame? Everything else gets built around that answer.
2 — Choose the light first, the wardrobe second
Light defines mood faster than clothing does. Golden hour, harsh fluorescent, soft window light — pick this before deciding what they're wearing.
3 — Name the lens and the distance
Close enough to see skin texture, or far enough to show the environment? An 85mm portrait lens and a wide environmental lens tell two different stories with the same subject.
4 — Add the imperfections
Messy hair, fabric wrinkles, an asymmetric pose. The step almost everyone skips — and the one that does the most work.
5 — Finish with color grading and mood
Your final pass — the thing that makes the image feel directed rather than assembled.
Actionable insight: save this five-step sequence somewhere you'll actually see again. Light and story should always come before wardrobe and polish.
Why AI prompt libraries save real time
I want to be honest about something: I didn't build a habit of using a structured bulk AI prompt library because it sounded impressive. I built it because writing a fully engineered, five-pillar prompt from scratch — every single time, for every single image — is exhausting.
A good prompt that actually accounts for subject, environment, lens, light, and color grading isn't a one-line request. It's closer to a small paragraph of deliberate creative decisions. Multiply that by every image you need for a campaign, a portfolio, or a content calendar, and "writing it from scratch" stops being realistic.
This is the entire reason copy paste AI prompts exist as a category worth taking seriously. Not because they remove creativity — but because they remove the repetitive, technical scaffolding (lens terminology, lighting logic, composition language) so you can spend your energy on the part that's actually yours.
Whether someone is searching for ChatGPT image prompts for boys, Gemini image prompts for girls, general AI photography prompts, or a dedicated set of cinematic AI portrait prompts, the value of a well-organized library is the same: someone has already done the unglamorous work of figuring out which lens, which light, and which phrasing actually produces a believable result.
A prompt library isn't a shortcut around skill. It's a head start on the boring 80% so you can focus on the interesting 20%.
A few prompts from my own library, and what each one teaches
Golden Hour Vintage Fashion Portrait
Built almost entirely around lens choice — an 85mm spec paired with shallow depth of field gets that soft, editorial-grade background separation.
Person Reading Book — Cinematic Collage
A two-frame collage that turns one quiet scene into a small, believable story instead of a static pose.
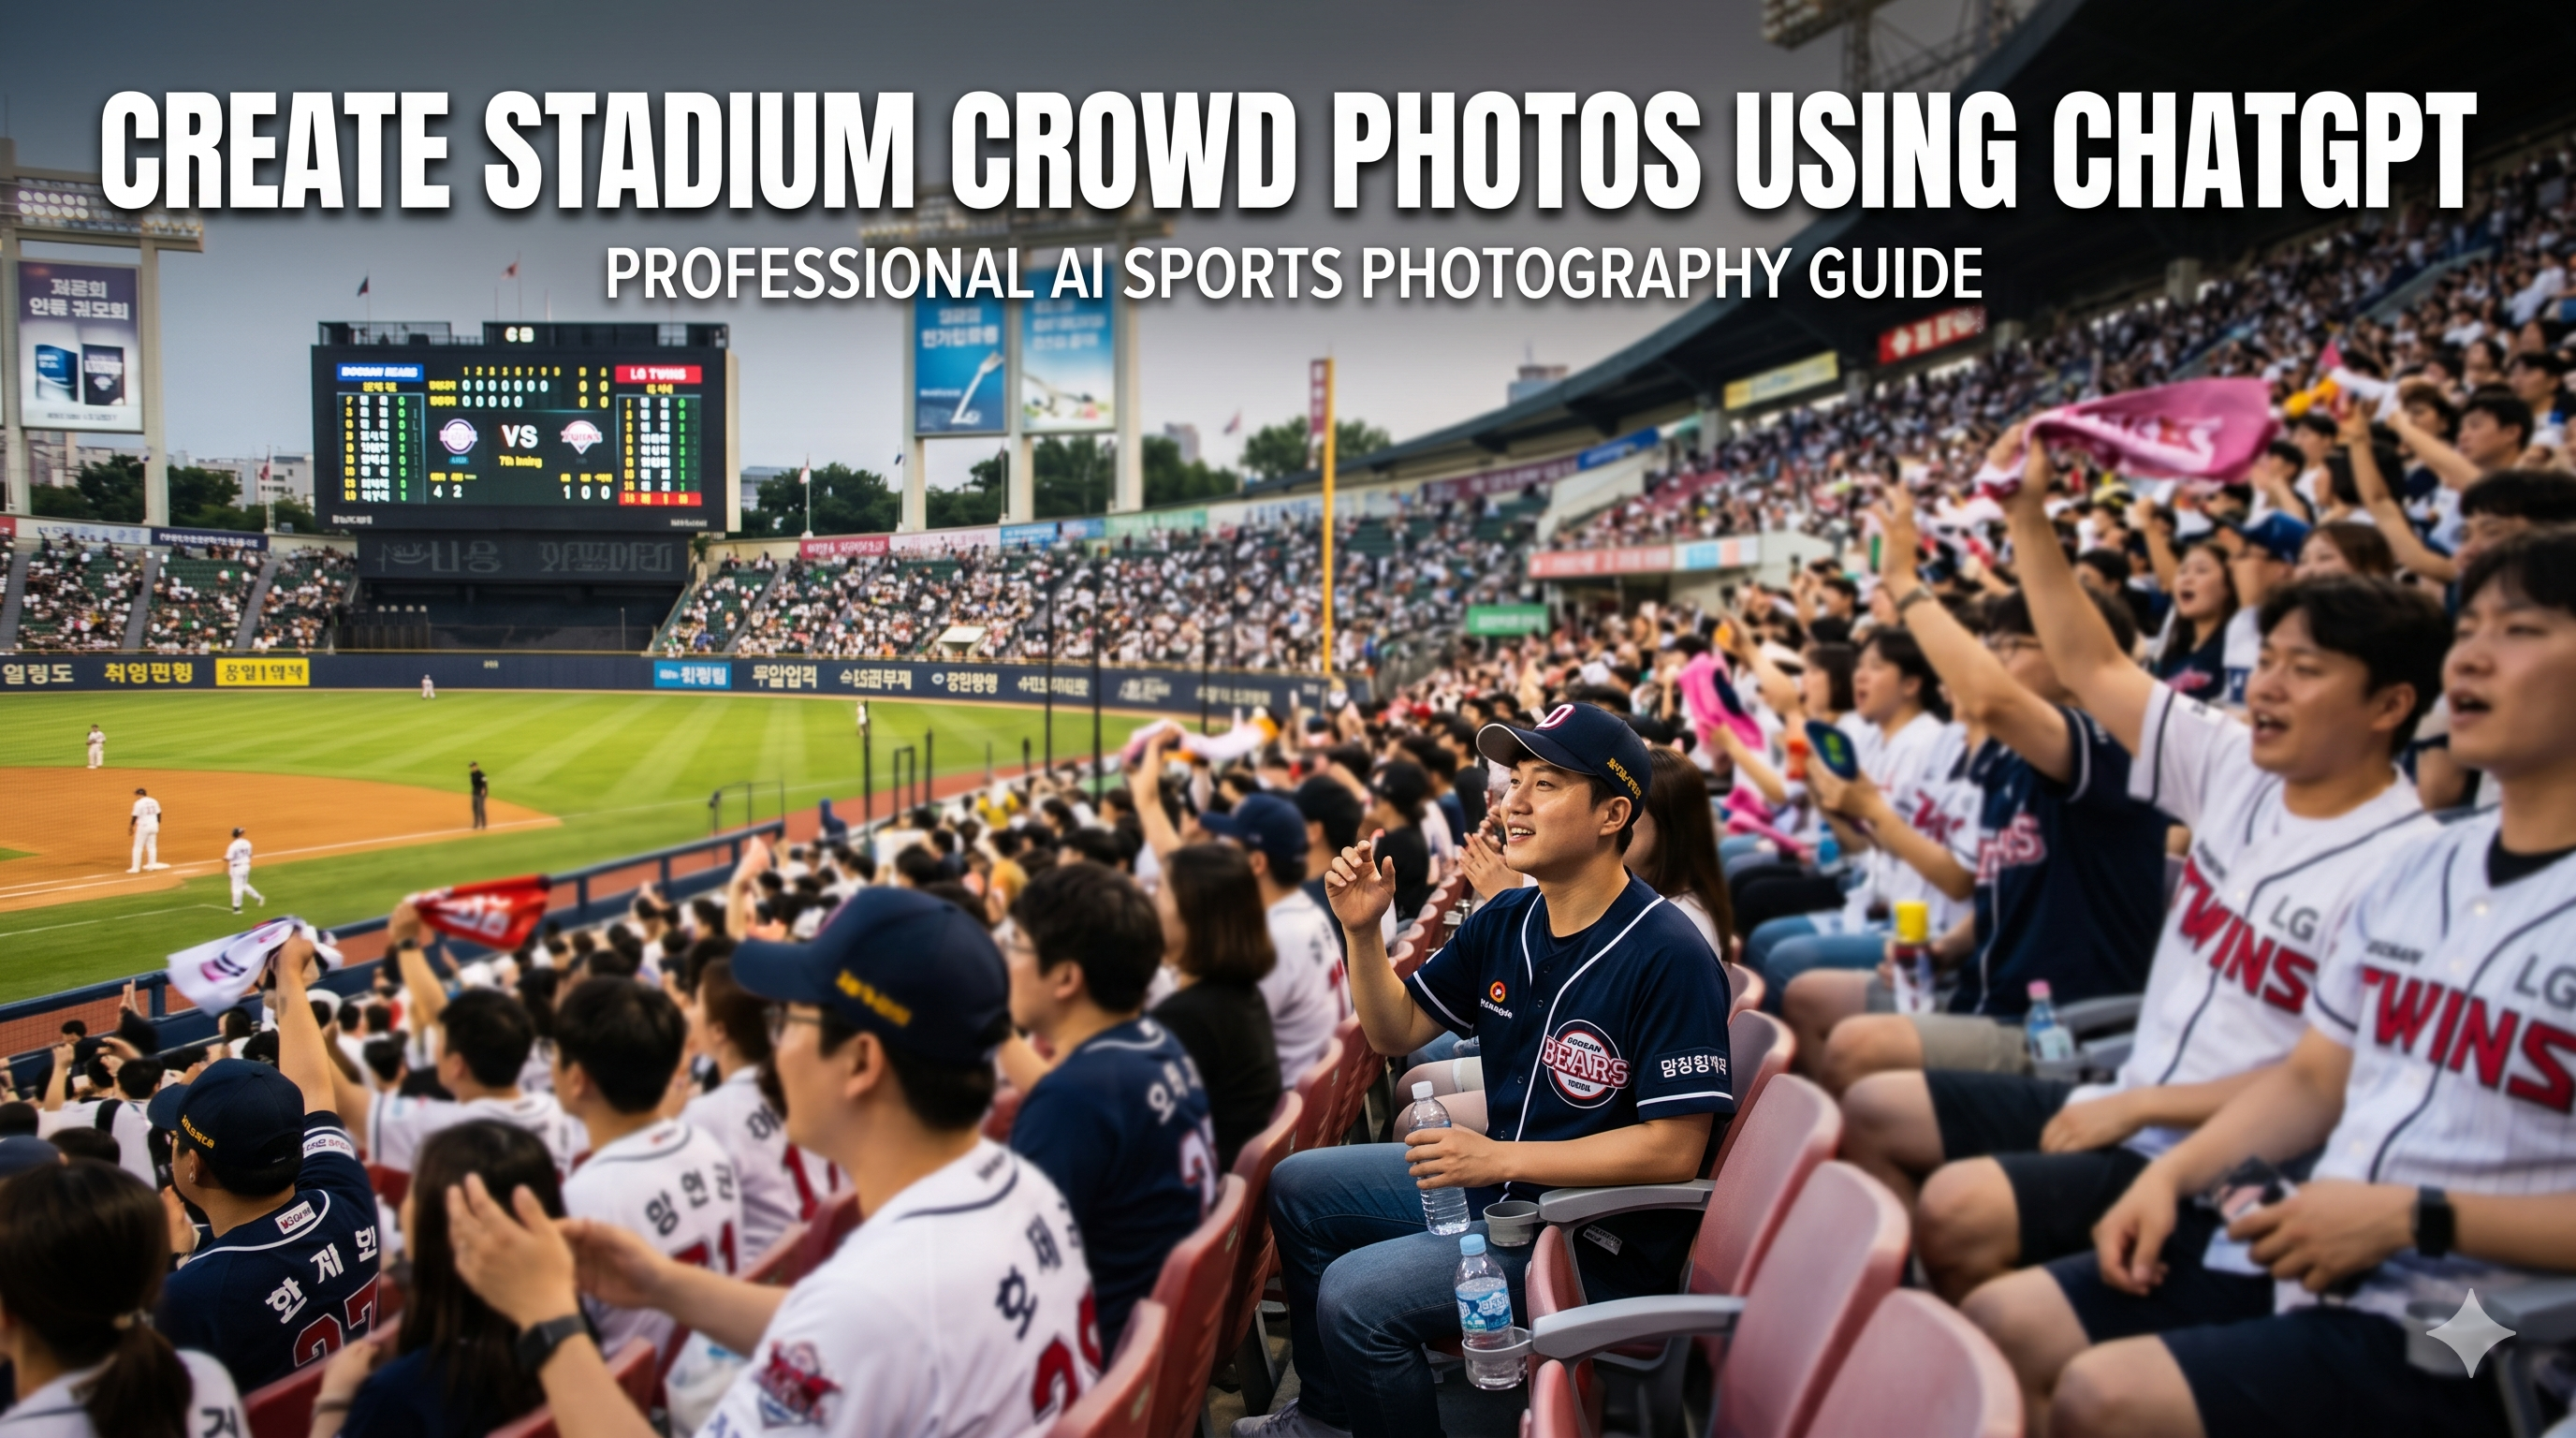
ChatGPT Stadium Prompt
Explicitly instructs the model to preserve the uploaded reference face "without over-editing" — the difference between likeness and guesswork.
Cinematic AI Girl Prompt for ChatGPT
Follows the build order almost exactly: subject and wardrobe, environment, light source, then camera framing.
Ultra-Realistic Moody Portrait
Harsh fluorescent light from directly above, sharp under-eye shadows, blurred industrial background — gritty urban realism done with three precise decisions.
Actionable insight: keep a personal swipe file of every prompt structure that worked for you — even three or four reliable templates. That alone saves more time than any new model upgrade.
How to improve results without switching AI models
There's a quiet myth in this space that better images require a newer, more expensive model. In my experience, that's rarely the actual fix.
- Iterate on lighting language before anything else. Changing "soft daylight" to "bright harsh midday sunlight from the upper left" can transform a result more than swapping platforms entirely.
- Use reference images whenever identity matters. An explicit instruction to preserve the original reference — face, hairstyle, proportions — outperforms describing a face from memory almost every time.
- Treat your first output as a draft, not a final. The biggest realism gains often come from a second pass: adjusting one variable rather than rewriting the whole prompt.
- Borrow structure from prompts that already work. Studying a handful of prompts that consistently produce believable results teaches you more than any tutorial.
Actionable insight: before deciding a model "isn't good enough," spend ten minutes rewriting your lighting description alone. It's the cheapest, fastest test you can run.
What I'd tell someone starting from zero
If I could hand my past self one piece of advice before I burned through months of trial and error, it would be this: stop trying to write a perfect prompt from nothing, and start by studying prompts that already work.
Pull apart their structure. Notice what they specify and what they leave deliberately vague. Notice how often they mention light before they mention wardrobe. Notice how the best ones read less like a request and more like a scene description from a film script.
That's genuinely how I ended up building a full AI prompt library rather than a folder of personal notes. Once you've reverse-engineered enough prompts that work, you start writing your own the same way instinctively — and you stop generating ten throwaway images to get one usable one.
Want a head start instead of building that instinct from scratch?
That's exactly what I've put together at NanoAIPrompts — a growing, categorized AI image prompt library covering realistic photography, fashion portraits, candid styles, and editing workflows for ChatGPT, Gemini, and Nano Banana. Copy-paste, no guesswork, somewhere to begin — not a replacement for your own eye.
Browse the prompt library →Quick-reference recap
- AI images look fake because of vague prompts, not weak models.
- Realism comes from agreement between light, environment, and subject — not "perfection."
- Every strong prompt answers four questions: who, where, how it's framed, what mood it carries.
- Angle, lens, lighting, composition, and color grading separate flat results from cinematic ones.
- Imperfection builds more trust than polish does.
- A prompt library saves time on structure — it doesn't replace your creative judgment.
Editor's notes — publishing & SEO details+
Written by Nano AI Team
The Nano AI Team consists of expert prompt engineers and AI artists dedicated to helping you master generative AI tools like ChatGPT, Gemini, and Midjourney.
View all AI Prompts →