The Ultimate AI Image Editing Prompts: Cinematic & Realistic Camera Looks
Prompt copied to clipboard!
8 Minute Read β€’ Masterclass

Stop Getting Plastic Faces from AI.

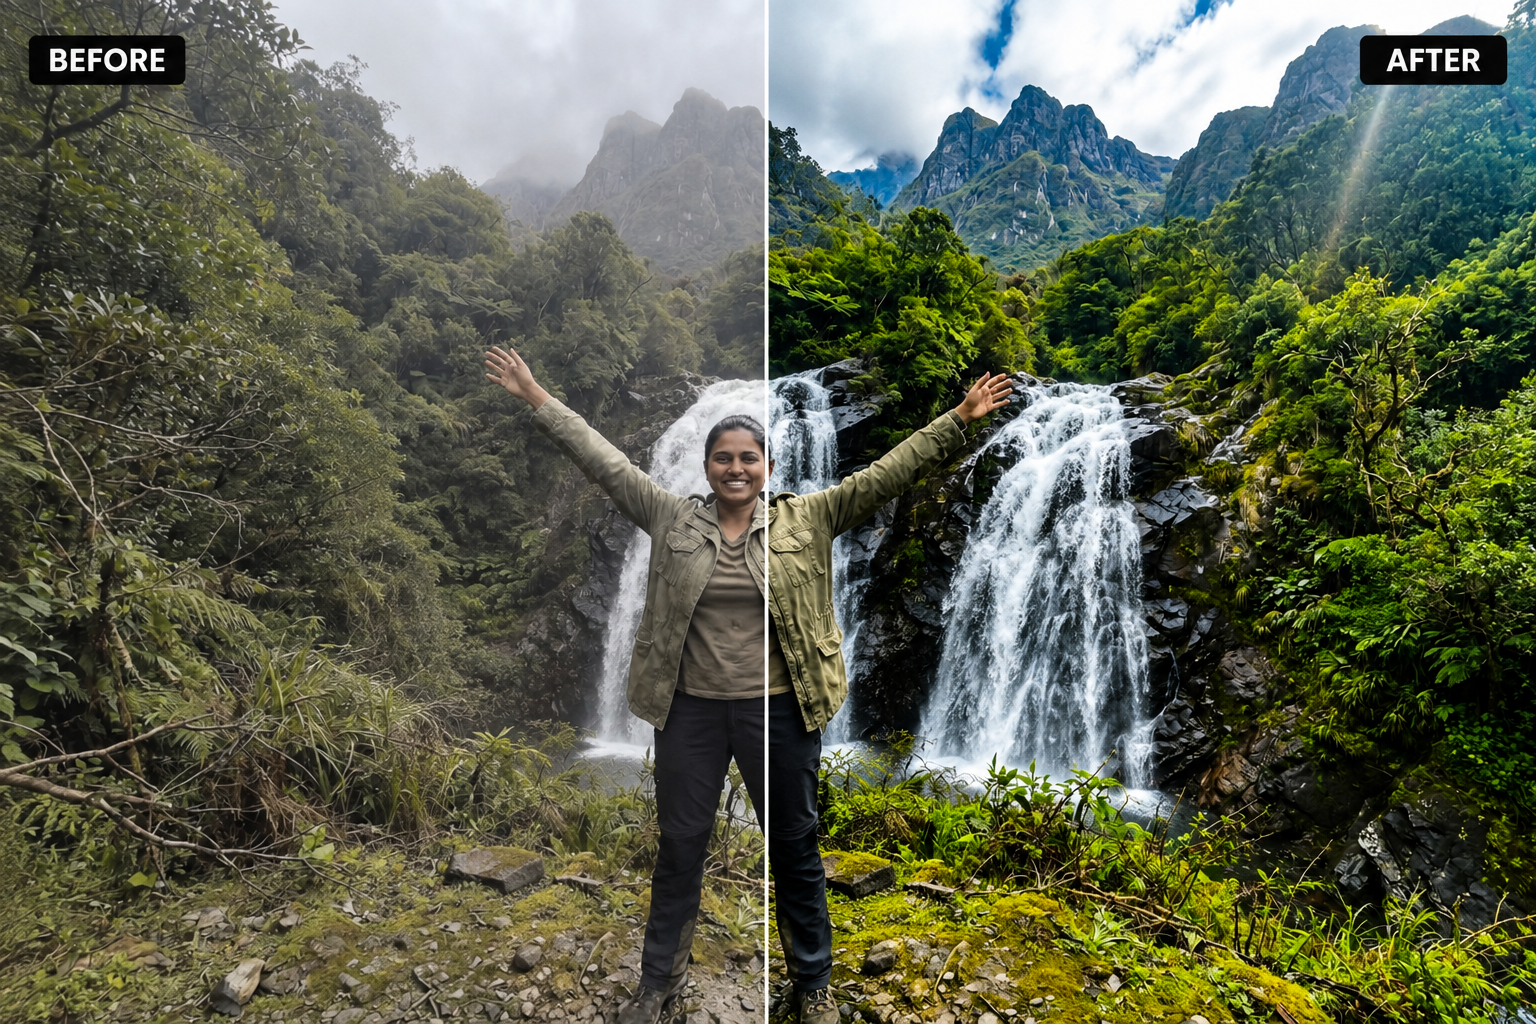
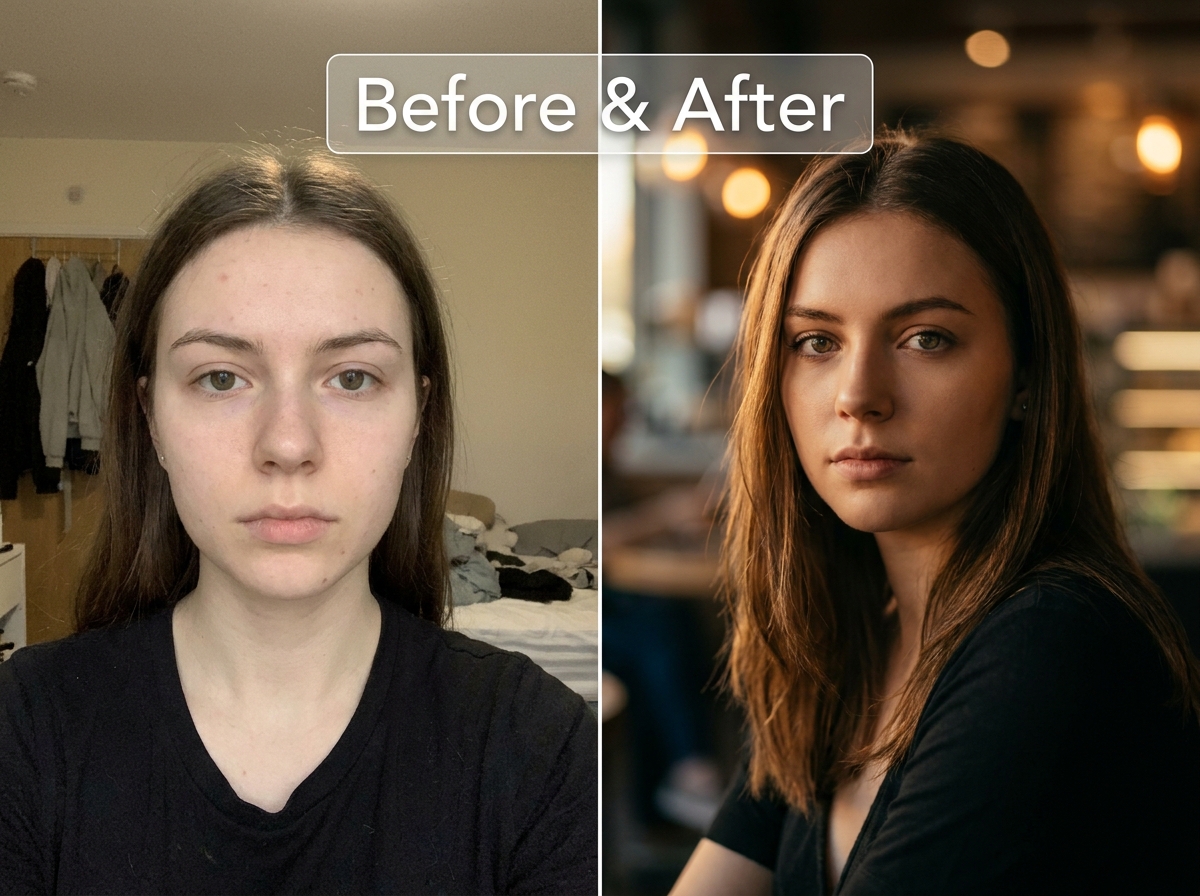
You uploaded a great photo. You asked for a "cinematic look." The AI gave you a waxy, airbrushed stranger. Learn the 3-part prompting framework to apply Hollywood camera grades to your photos while perfectly preserving your identity.

Skip the theory. Start creating.

Access our curated library of production-ready AI image editing prompts.

The Problem with AI Image Editing Today

We have all been there. You have a beautiful base image, and you bring it into ChatGPT, Midjourney, or Stable Diffusion. You type: "Make this look like a movie, cinematic lighting."

The result? The AI completely morphs your face. It smooths out your skin until you look like a mannequin. It invents fake depth-of-field (bokeh) that blurs out important details, and it cranks the contrast until your photo looks like a cheap Instagram filter.

Why does this happen? Because AI models are trained to "beautify" and "enhance" by default. If you don't explicitly tell them what not to do, they will overwrite your original pixels with their biased training data.

The Secret: The 3-Part Triad Framework

After testing hundreds of prompts, we discovered that professional AI image editing requires a strict architectural approach. You cannot just write one sentence. You need The Triad:

  1. The Base Rules: The handcuffs. This tells the AI to lock down your identity, pose, and background.
  2. The Look: The specific camera lens, film stock, and color science you want to apply.
  3. The Negative Prompt: The shield. This explicitly bans the AI from applying its default "plastic" aesthetic.
How to use this guide: Copy the Base Rules and Negative Prompt. Then, choose one Look from our library below and sandwich it in the middle. Paste all three into your AI editor along with your image.
Step 1 & 3 β€’ Use these for every edit

The Non-Negotiable Master Rules

These are your foundation. Never edit a photo without pasting these exact parameters alongside your chosen style.

The Base Rules (Paste First)

Use the input image as the base plate. Preserve identity, facial structure, age, ethnicity, hairline, freckles/moles, scars, makeup, expression, gaze direction, pose, body proportions, and all jewelry/tattoos. Preserve exact framing, crop, aspect ratio, perspective, camera position, field of view, and background layout. Preserve all objects and their locations. Do not add, remove, duplicate, or replace anything. Do not change wardrobe, logos, or text. Do not beautify faces or bodies. Do not relight, re-shadow, or change light direction/quality, keep the original lighting and exposure intent. Only adjust: color science, white balance trim (subtle), tonal curve (toe/shoulder), highlight roll-off, color separation, grain, halation, mild vignette, and lens rendering traits (micro-contrast, gentle edge falloff, restrained CA). Do not introduce synthetic depth-of-field or fake background blur, only respect blur that already exists. Keep edges stable, no warping, bending, or geometry drift.

The Negative Prompt (Paste Last)

face morph, identity drift, age change, skin airbrushing, beauty filter, plastic skin, waxy smoothing, pore painting, fake texture, over-sharpening, halos, crunchy clarity, HDR glow, local-contrast abuse, noise reduction smear, banding, posterization, color blotches, neon saturation, orange skin push, magenta skin shift, green skin, blown highlights, crushed blacks, fake bokeh, depth-map artifacts, relighting, added rim light, added lens flare, flare everywhere, added props, removed props, background replacement, sky swap, object duplication, text artifacts, watermarking, extra fingers, warped hands, asymmetric eyes, double pupils, deformed teeth, composition changes

Tired of building prompts manually?

Our library contains hundreds of pre-built, one-click prompts for portraits, product photography, and aesthetic edits.

Explore Trending Prompts

The Camera Emulator Library (The Looks)

Now for the fun part. Combine the Master Rules above with one of these highly-engineered camera profiles. These prompts don't just say "make it cinematic"β€”they instruct the AI on precise highlight roll-offs, micro-contrast, and color science.

The Blockbuster Standard

ARRI ALEXA 35 + Signature Prime

The exact look of modern high-budget Hollywood cinema. Neutral skin, gentle saturation, and a creamy highlight roll-off.

Emulate ARRI ALEXA 35 / LogC-style color response with a filmic print-like finish: neutral-to-warm skin that stays realistic, gentle saturation with soft compression in high-chroma areas (no neon), and strong but natural midtone separation. Shape the tonal curve with a slightly lifted toe (retain shadow detail, no haze) and a smooth shoulder (creamy highlight roll-off, no clipping). Keep whites neutral and controlled. Signature Prime lens rendering: clean organic micro-contrast (not sharpening), smooth bokeh and natural edge falloff, mild vignette, minimal distortion and minimal CA. Halation: very subtle, confined to existing bright specular edges/practicals only, no global glow. Grain: fine, tight, evenly distributed film grain, avoid clumps and avoid adding texture that was not there.
Ultra-Clean HDR

Sony VENICE 2 + Zeiss Radiance

Perfect for modern streaming shows. Deep blacks without crushing, wide dynamic range, and crisp, modern details.

Emulate VENICE 2 HDR cleanliness: deep blacks with detail retained (no crush), wide dynamic range, neutral whites, crisp but natural detail. Preserve realistic saturation and strong color separation without pushing skin or reds. Zeiss Radiance character: controlled veiling flare and gentle highlight radiance only where bright highlights already exist. Soften highlight edges slightly while keeping midtones modern and sharp. Restrained vignette, minimal distortion/CA. Grain: ultra-fine subdued grain (barely visible). Absolutely no AI glow.
Vintage Analog

16mm Film + Zeiss Super Speed

Authentic, gritty, indie-film texture. Thick shadows, warm highlights, and beautiful natural film grain.

Convert to authentic 16mm texture: tighter perceived dynamic range, thicker shadows, punchy mids, warmer highlights, reduced clinical sharpness (no blur, just less digital bite). Add visible fine 16mm grain structure (even, not clumpy), extremely subtle gate weave (barely perceptible), mild halation around practicals/speculars only. Keep colors natural and slightly imperfect. No heavy LUT stylization or crushed blacks.
High-End Editorial

Hasselblad X2D 100C + XCD 80/1.9

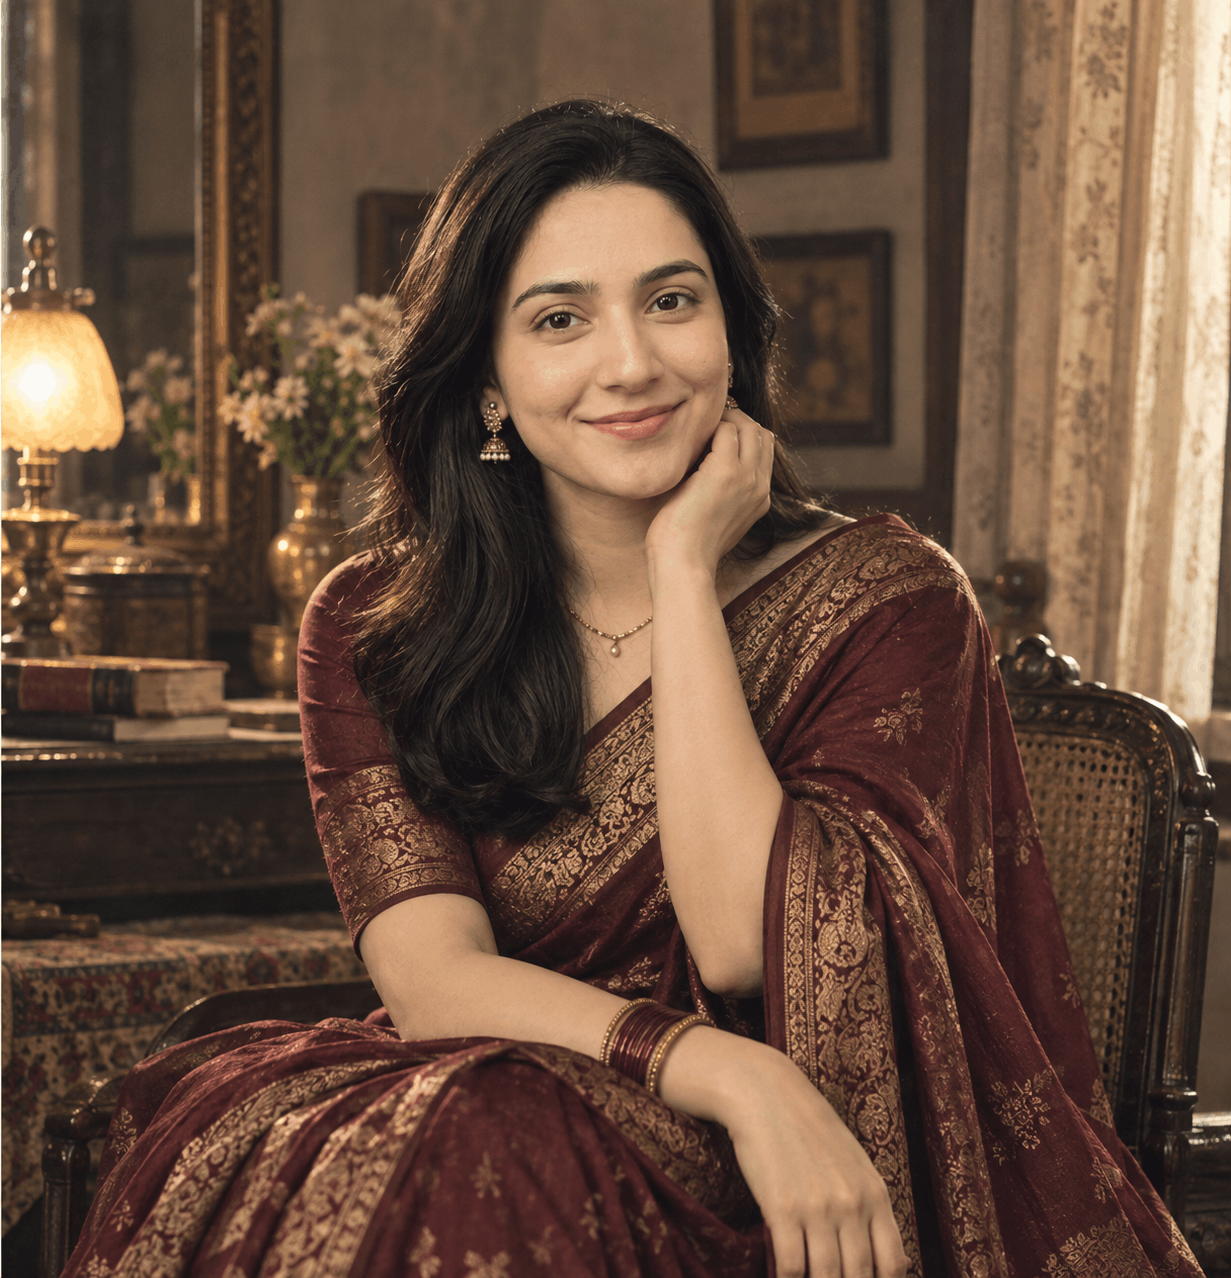
The Vogue magazine look. Medium-format tonal depth, insanely smooth color gradients, and 3D pop.

Emulate medium-format tonal depth: exceptionally smooth gradients, refined neutrality, soft highlight roll-off, gentle contrast with nuanced mids. Create 3D pop via tonal micro-separation, not sharpening or clarity. XCD 80/1.9 rendering: creamy subject separation only if already present, smooth bokeh, soft vignette, minimal aberrations. Grain: very light, tight grain (almost imperceptible). No HDR/clarity crunch.

Why These Prompts Actually Work

If you read through the prompts carefully, you will notice specific photographic terminology. Here is why we use them instead of generic words:

Instead of "Blurry Background" we use "Respect Existing Bokeh."
If you tell AI to add blur, it creates a fake depth-map that ruins hair edges and ears. By telling it to only enhance existing blur, your photo remains optically realistic.
Instead of "Cinematic Lighting" we use "Halation & Highlight Roll-off."
Cinematic lighting to an AI usually means turning the user orange and blue (the infamous teal/orange LUT). By specifying highlight roll-off, we force the AI to handle light smoothly, like real cinematic film, without aggressively changing the colors.

Frequently Asked Questions

Which AI tool works best for these prompts?
Why is my output still changing my clothes?