AI Image Prompts for Realistic Portraits

AI Prompt Guide · Realistic Photography
AI Image Prompts for Realistic Portraits: A Practical Guide
Learn the visual building blocks that make an AI portrait feel photographed rather than synthetic—from identity and expression to lens choice, skin texture, lighting, and controlled editing.
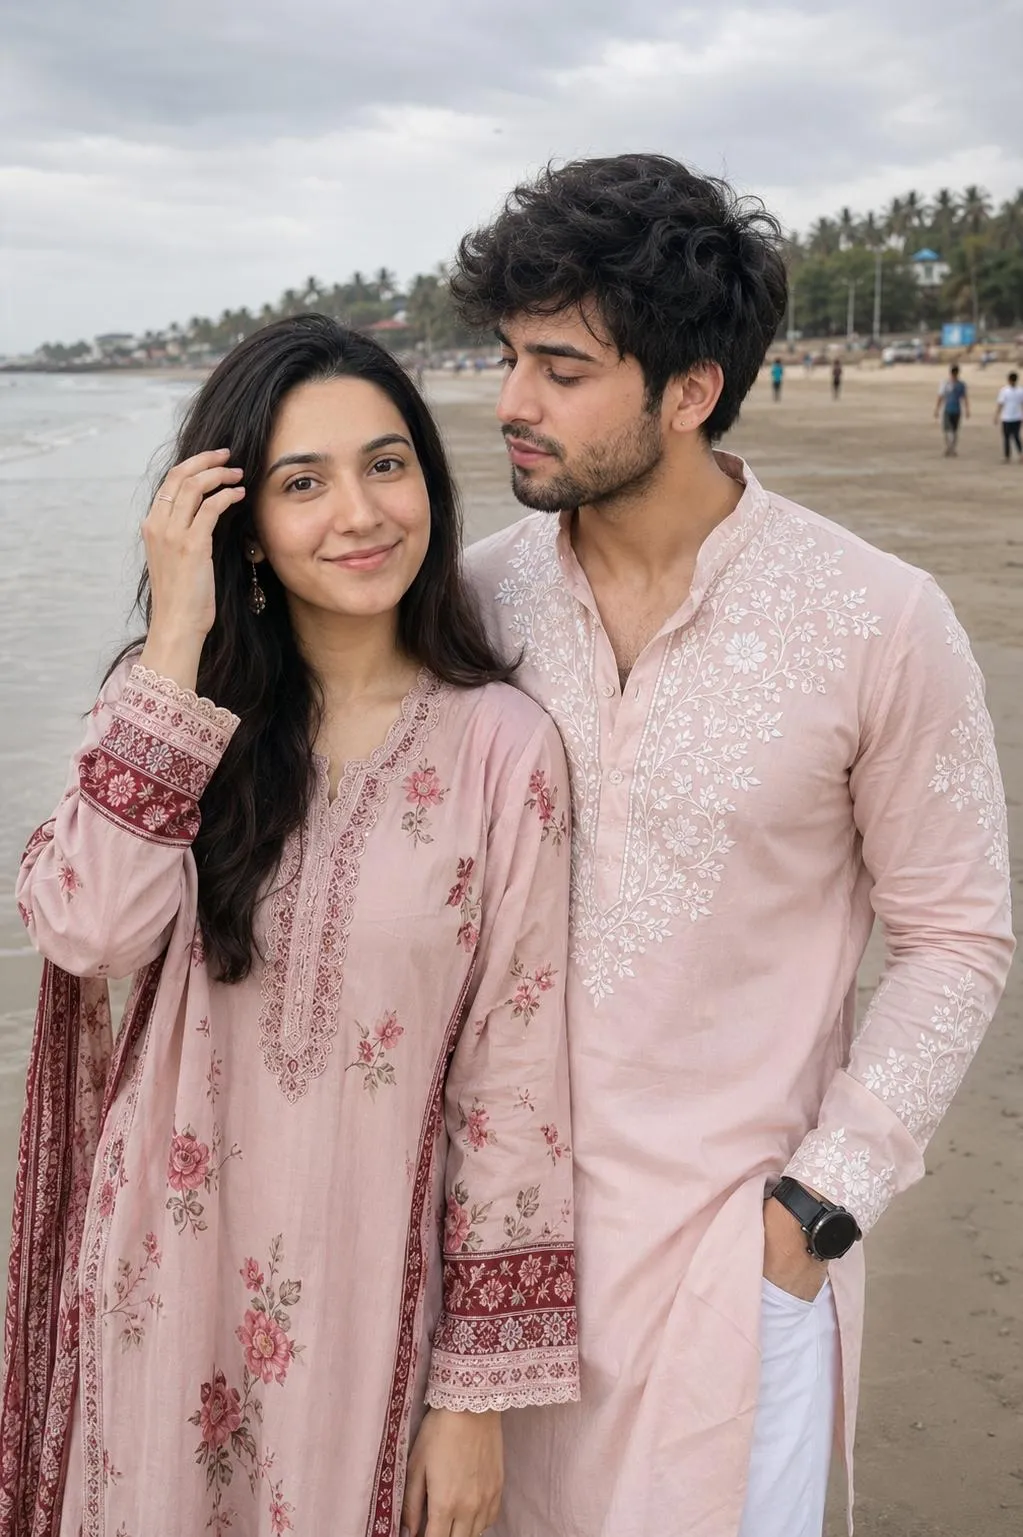
Realistic portraits are rarely produced by adding more adjectives. The reliable approach is to describe the image as a compact photographic brief: who is in the frame, what the camera sees, how light falls across the face, which details must remain stable, and which artifacts the tool should avoid.
This guide explains how to write AI image prompts for realistic portraits for two different jobs. A text-to-image prompt creates a new portrait from a written description. An image-editing prompt transforms an uploaded photograph while protecting identity, pose, or composition. Keeping those jobs separate makes your instructions more precise and your revisions easier.
The anatomy of a realistic portrait prompt
A strong portrait prompt gives the model a hierarchy. Put the non-negotiable visual information first, then add photographic decisions, then specify what should not happen. The sequence below is flexible, but it prevents a common failure: asking for “ultra-realistic 8K” before explaining the subject or the shot.
- Subject and identity. State the person, age range, expression, hairstyle, clothing, and any identity-preservation requirement. If an uploaded face is involved, say exactly which image controls identity.
- Composition and pose. Define portrait orientation, crop, camera height, gaze, body angle, hand placement, and the subject’s position in the frame.
- Light and environment. Describe the source and direction of light, shadow softness, color temperature, background, time of day, and atmosphere.
- Camera language. Use lens and depth-of-field language to guide perspective. “50mm portrait-lens look” communicates a different result from a wide-angle environmental portrait.
- Texture and exclusions. Ask for pores, fine hair, fabric detail, natural tonal variation, and restrained retouching. Exclude plastic skin, warped hands, excessive HDR, and accidental text.
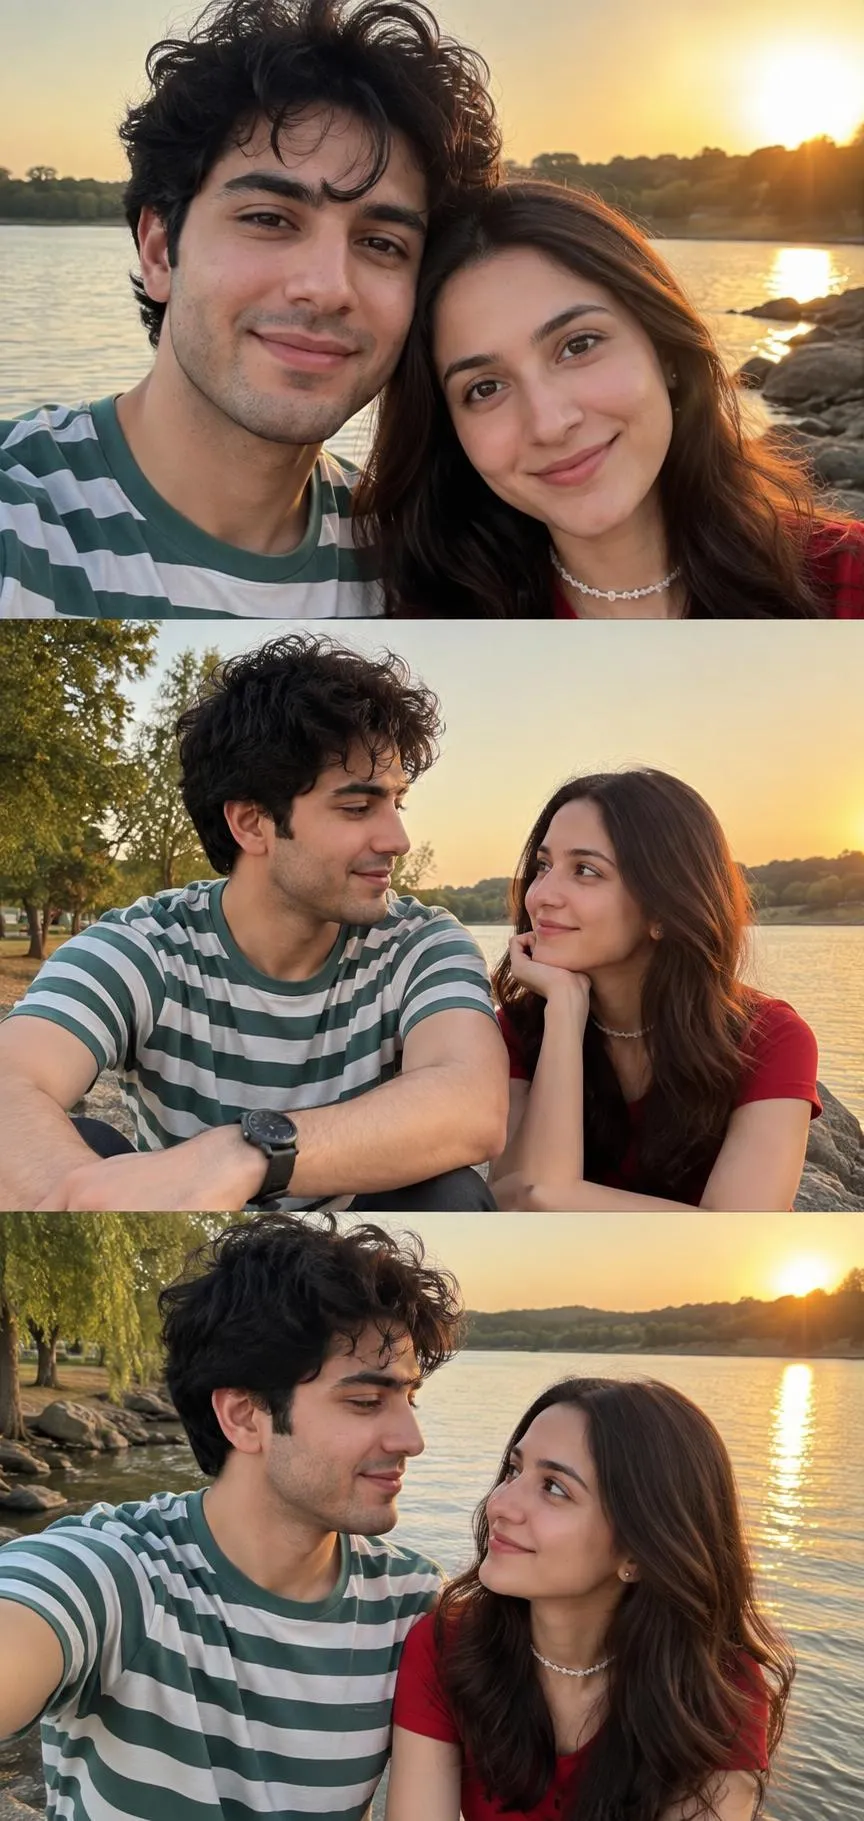
Text-to-image versus image-editing prompts
Before writing, decide whether the portrait starts from words or from an uploaded image. The distinction changes the verbs you use. Text-to-image instructions say “create,” “show,” or “depict.” Editing instructions say “transform,” “preserve,” “replace,” or “recreate,” followed by a clear list of what must not change.
| Workflow | Best for | Prompt emphasis |
|---|---|---|
| Text-to-image | A new fictional or conceptual portrait | Subject, styling, scene, camera, light, mood, and aspect ratio |
| Reference-image editing | Changing an existing portrait or keeping a composition | Identity lock, exact crop, pose, clothing, background, and the requested edit |
| Multiple references | Combining composition with a separate face or style reference | Assign each image one job so the tool knows which source controls identity and which controls framing |
For example, a portrait edit can use one image as the composition reference and a second image as the face-identity reference. That is more actionable than saying “make me look like this,” because the instruction assigns a role to each input.
Three copy-ready starting points
Use the following templates as controlled starting points. Replace bracketed details, make one or two changes at a time, and keep the core camera and identity instructions intact while you compare results.
1. Natural-light editorial portrait
ChatGPT-compatible workflowUse this for a new portrait where the goal is believable daylight, natural skin, and a quiet editorial mood.
Create a realistic editorial portrait of [subject description], framed vertically from the chest up. Place the subject near a large window with soft side light, gentle shadow falloff, natural skin texture, visible but subtle pores, fine hair detail, and an unforced expression. Use a 50mm portrait-lens perspective, realistic eye level, shallow depth of field, a softly receding neutral interior, accurate fabric texture, restrained color grading, and natural tonal variation. Keep the image photographic rather than
Written by Rizwan Ullah Qureshi
Rizwan is a web software developer and the Founder
of Nano AI Prompts. He specializes in engineering
high-fidelity prompt templates for multimodal AI
models like ChatGPT, Gemini, and Nano Banana Pro.
View all AI Prompts →
Read Next